I’m Ed Lu, principal engineer on Wizard with a Gun, which released on October 2023. There’s tons of work I’m really proud to show off, and I’m writing a series of articles to just that. I’ll kick off the start of this series by breaking down our method of rendering ground tiles.
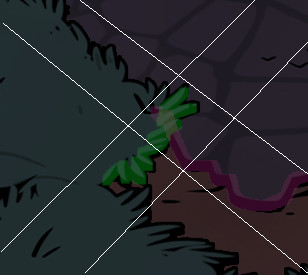
I was largely responsible for all of the technical art on the project. This is the piece of environment concept art I was working from:
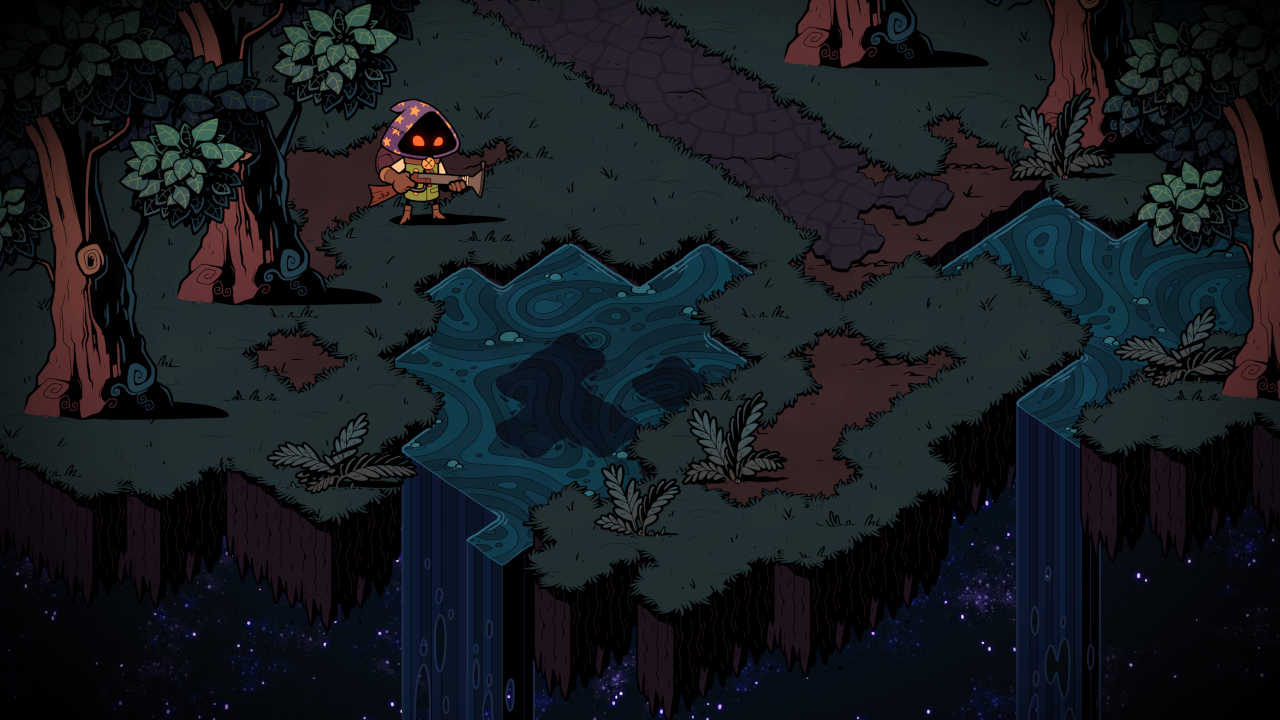
There are two particular parts to this concept that I will cover in this article. We call them “tile skirts” and “tile cliffs.” Let’s start with skirts.
Tile skirts
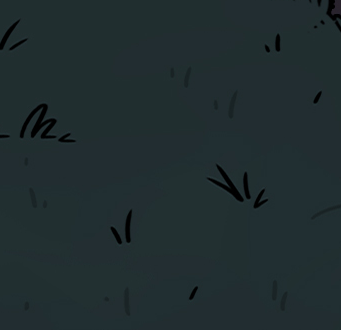
When I joined the project, the ground tiles looked like this:
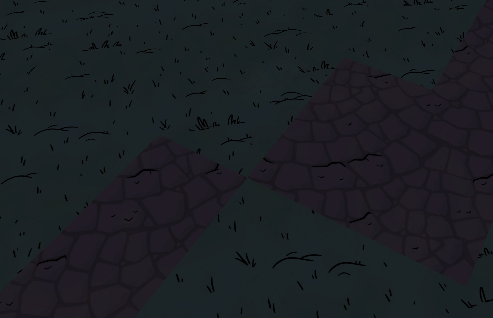
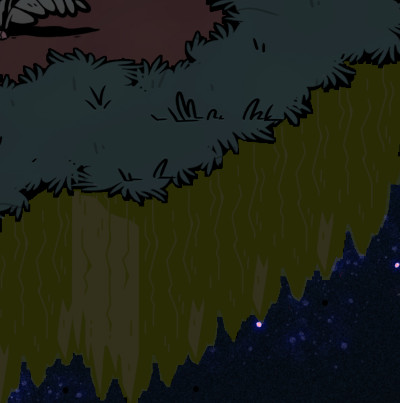
The tiles were missing the edges which made the transition between different tile types look more natural. Here is the concept art with those transitions, or skirts, highlighted:
One way to implement transitions between tiles is to bake them into the tiles themselves, using a tilemap like this:
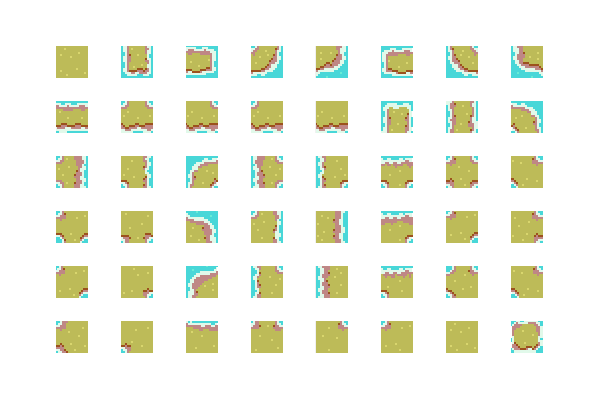
With this implementation, each tile needs to check its eight adjacent neighbors to decide what tile it should display. But there are a few problems with this method:
- Given that each tile needs to check its eight adjacent neighbors, and each tile can be either the skirt’s type or something else, you need to draw 32 (2^8) types of skirts for each tile type.
- Those 32 skirts do not support any variation. If you have a long, straight region of grass, then the skirt which represents a straight region will tile over and over again.
- You need a set of these tiles for each pair of tiles. With many tile types - something like 20 - in our game, that explodes those 32 tiles into 640.
There’s some things you can do to reduce the load on your artists using this method. You could identify that some of these orientations are the same, just rotated, and re-use the same skirt for those combinations. You could bake the tiles, or overlap them, so the last point is a lot easier to deal with.
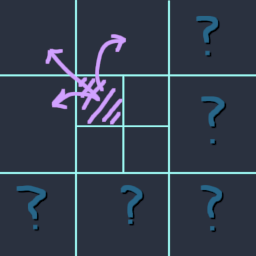
However, I think there is a better way. Let’s divide each tile by two instead. Now, for each half-tile, we only need to look at three tiles, instead of eight:
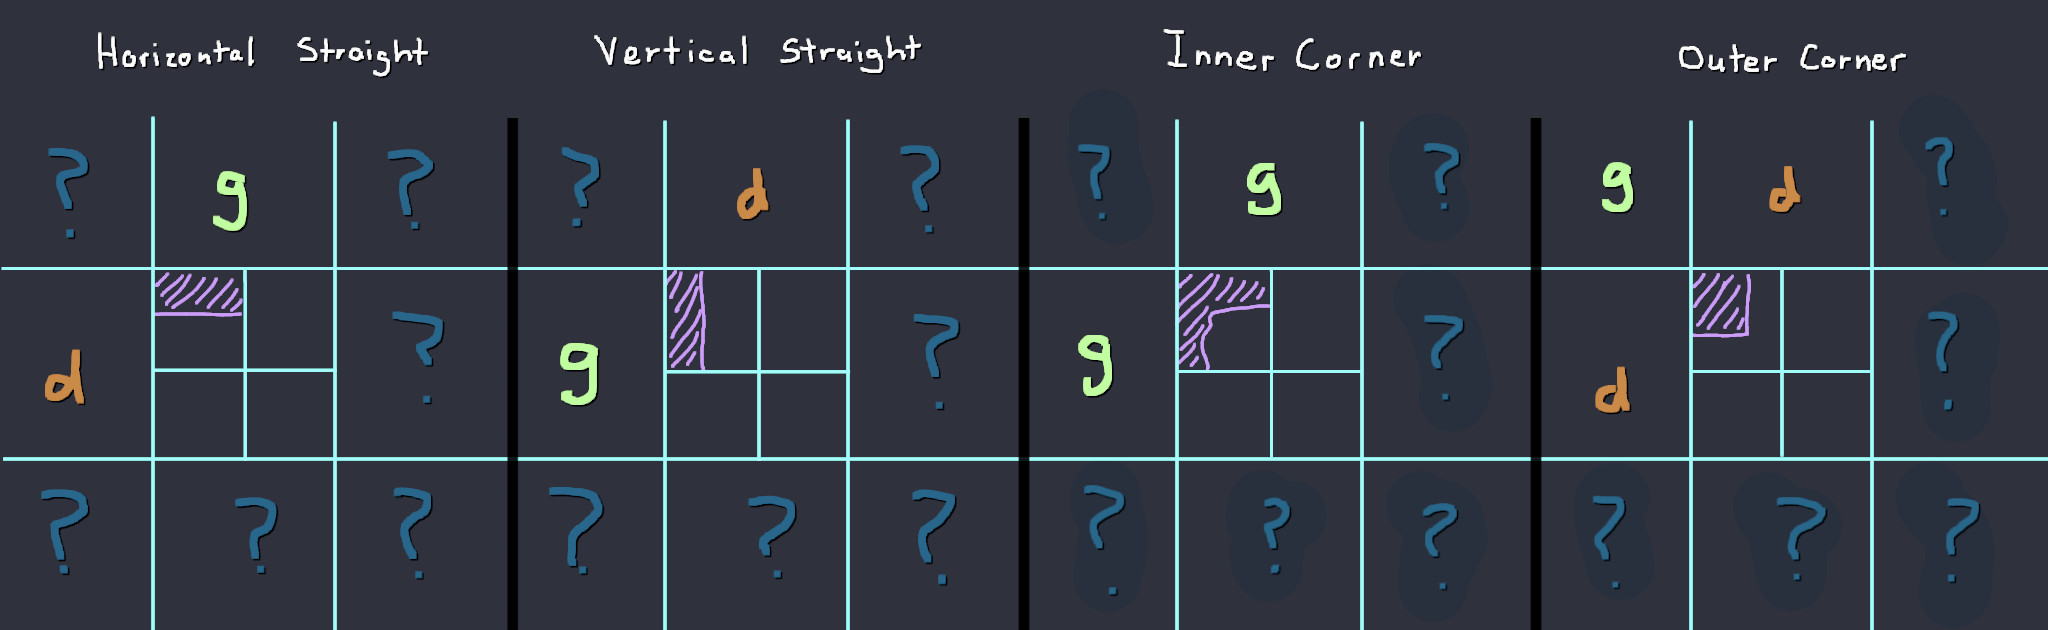
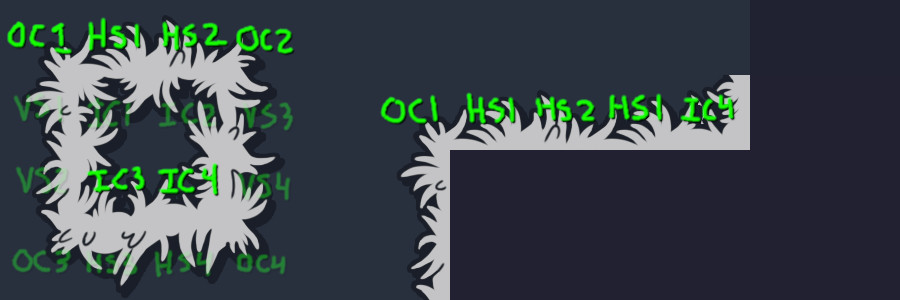
Which, correspondingly, reduces the amount of tiles we need. Say we’re creating a set of skirt tiles for grass. The following four images illustrate all of the configurations we need to support for a single half-tile when placing a skirt for a grass tile, represented with “g”. A “d” represents a dirt tile, and a “?” represents any other tile that we do not need to consider for that case.
Multiply these four tile types by four, to account for each half-tile quadrant of the full tile. This leads to a nice tilesheet of just 16 tile types:
This looks much more elegant! However, there’s some hidden details we need to account for.
Tiling
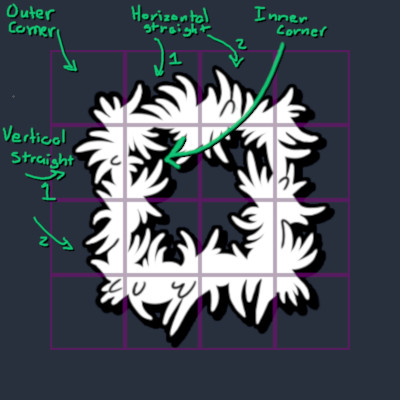
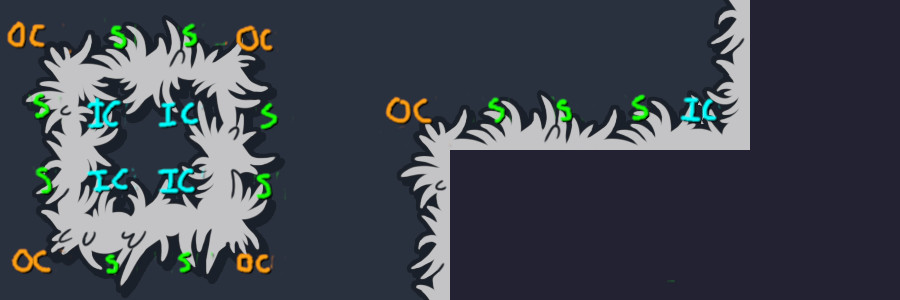
The half-tile system leads to some non-obvious constraints on how each individual tile must seamlessly tile into the others.
In the above image, you’ll notice that straight piece “HS1” must seamlessly tile not only with “HS2”, but also with a couple inner corners and outer corners.
Rotation
As mentioned above, we don’t want the player to be able to spot a tiling pattern when many straight pieces are used. To remedy this, we decided to allow each half-tile to be rotated 90, 180, or 270 degrees and be used in that orientation as well. That means that all inner corners are interchangeable with each other, and likewise for outer corners, and all straight pieces.
This leads to even more brutal constraints on how tiles match up. Now, every piece needs to tile with every other piece!
When I brought this up to the artist I was working with, I thought that this might end up being a complete blocker for the system. However, our artist is a magician and somehow ended up making this work with minimal fuss. I’m not entirely sure of the process he used to do so, but it did seem to be less work than producing the 32 tiles+variations needed for the full-tile method.
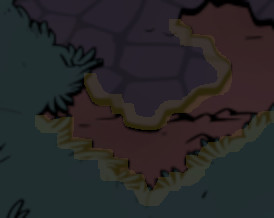
Baked-in shadows
If you look at the concept art posted above, you might notice that the shadows are deeper on the edge of the skirts facing the camera:
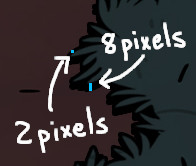
This gives the skirts a bit more depth. We decided to bake this shadow into the sheet. Since we can rotate each tile in any direction, we need to bake the shadows in for each direction.
We ended up with this final tilesheet for grass:
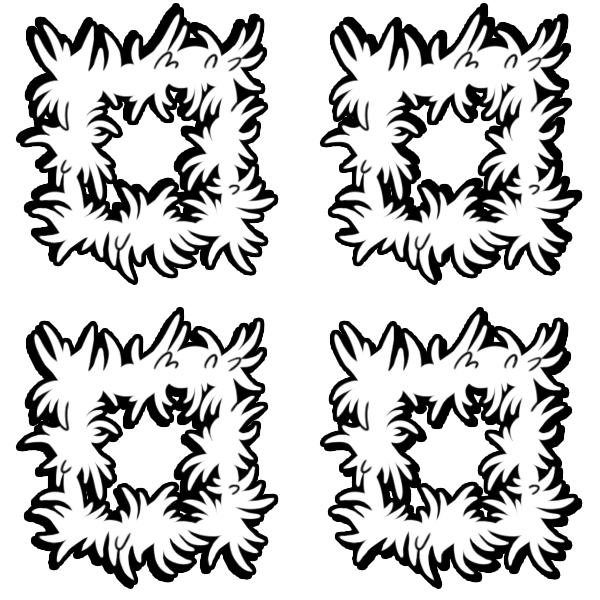
This ends up being 64 tiles total in the tilesheet, but most of these tiles are simply rotated versions of the original 16 tiles with the drop shadow tweaked.
Our artist then went and created skirts for each of the tiles in our game, like dirt, cobblestone and snow.
Priority system
We have many tile types in Wizard with a Gun: grass, dirt, cobblestone, moss, wood, and more. More than one tile can end up wanting to place a skirt on a given half-tile, like shown here:
We render all skirts at a half-tile location for every neighboring tile with higher priority. In Unity, we do this by creating a renderer for every tile type. That renderer renders only that tile’s skirts.
Then, we set those skirt renderers’ render orders based on the skirt priorities. For example, in the above image, the grass skirts’ renderer has a higher render priority than the cobblestones’, leading to the grass skirt showing up in the front.
Masking
An important feature of the tile system at large is that you cannot tell where the tile boundaries are. The region of grass tiles pictured below takes up multiple tiles, but it’s difficult to tell where the tiles start and end.
We achieve this effect by tiling the grass texture at a scale that is larger than the size of a single tile. Our texture is overlayed on the ground such that it repeats every 2.666 tiles, which is done in shader.
But how can we get the skirts to match up to this tiling method? You may have noticed that the skirt images shown above are black and white, and do not have any texture. This is done intentionally so that we can use the skirts as masks. We sample into the texture the exact same way as the normal ground textures, but only in the areas that are full alpha and colored white.
Tile Cliffs
That’s all for tile skirts; let’s move on to the tile cliffs. The “tile cliffs” are highlighted in the following image in yellow:
The placement algorithm for the cliffs are much less complex. We have an asset which maps a set of tile types to a cliff type. For example, grass and dirt map to the “rock” cliff type, and wood tiles map to the “crate” tile type.
At runtime, a system simply looks at the asset, and generates the corresponding cliff type beneath each tile.

The complexity here stems from performance. There are two techniques which we use to optimize the cliff rendering.
Using a particle system
Generating a Unity GameObject for each cliff mesh would be quite wasteful, since these cliffs are purely visual. Instead, we ended up using a particle system for each cliff type, and used Unity’s integration between particle systems and the job system to pass data to each system.
This allows us to blast the GPU with a bunch of meshes without much runtime cost at all. All we do is pass the particle system job a bunch of position data, which forwards that data to the particles.
Limiting cliff meshes
Instead of generating a cliff under every tile, we render only cliffs under tiles that border an empty tile. That way, tiles within a large interior cluster do not receive a cliff, since they would likely be hidden underneath the tilemap anyway.
Runtime Generation
A final detail of these two system: since the player is allowed to modify tiles with the tile gun, a system that efficiently re-generates skirts and cliffs when this occurs is necessary. I limit the impact of of such re-generations by doing so on an event system.
Changes to the tilemap only affect the skirts and cliffs of the eight-directional neighbors of a tile. Thus, when a tile is removed or added, we emit an event. Then, the re-generation system takes care of creating and destroying skirts and cliffs for its neighbors.